Using Schema Controls
Once you have enabled destinations for a given source, all of the data you track will be routed to your connected tools and warehouses. If you no longer wish to send all data to a particular destination, you can disable the destination from the Source overview page.
Segment gives you the power to control exactly what data is allowed into your destinations, so you can protect the integrity of your data, and the decisions you make with it. You can send all of your data to a warehouse and only two specific events to an analytics tool. You can also block rogue events from all of your warehouses and end tools.
Filter specific events from being sent to specific destinations
An integrations object may be passed in the options of group, identify, page and track methods, allowing selective destination filtering. By default all destinations are enabled.
All customers can filter specific events from being sent to specific destinations (except for warehouses) by updating their tracking code. Here is an example showing how to send a single message only to Intercom and Google Analytics:
analytics.identify('user_123', {
  email: 'jane.kim@example.com',
  name: 'Jane Kim'
}, {
  integrations: {
    'All': true,
    'Intercom': true,
    'Google Analytics': true,
    'Mixpanel': false
  }
});
Destination flags are case sensitive and match the Destination’s name in the docs (for example, “AdLearn Open Platform”, “awe.sm”, “MailChimp”, etc.).
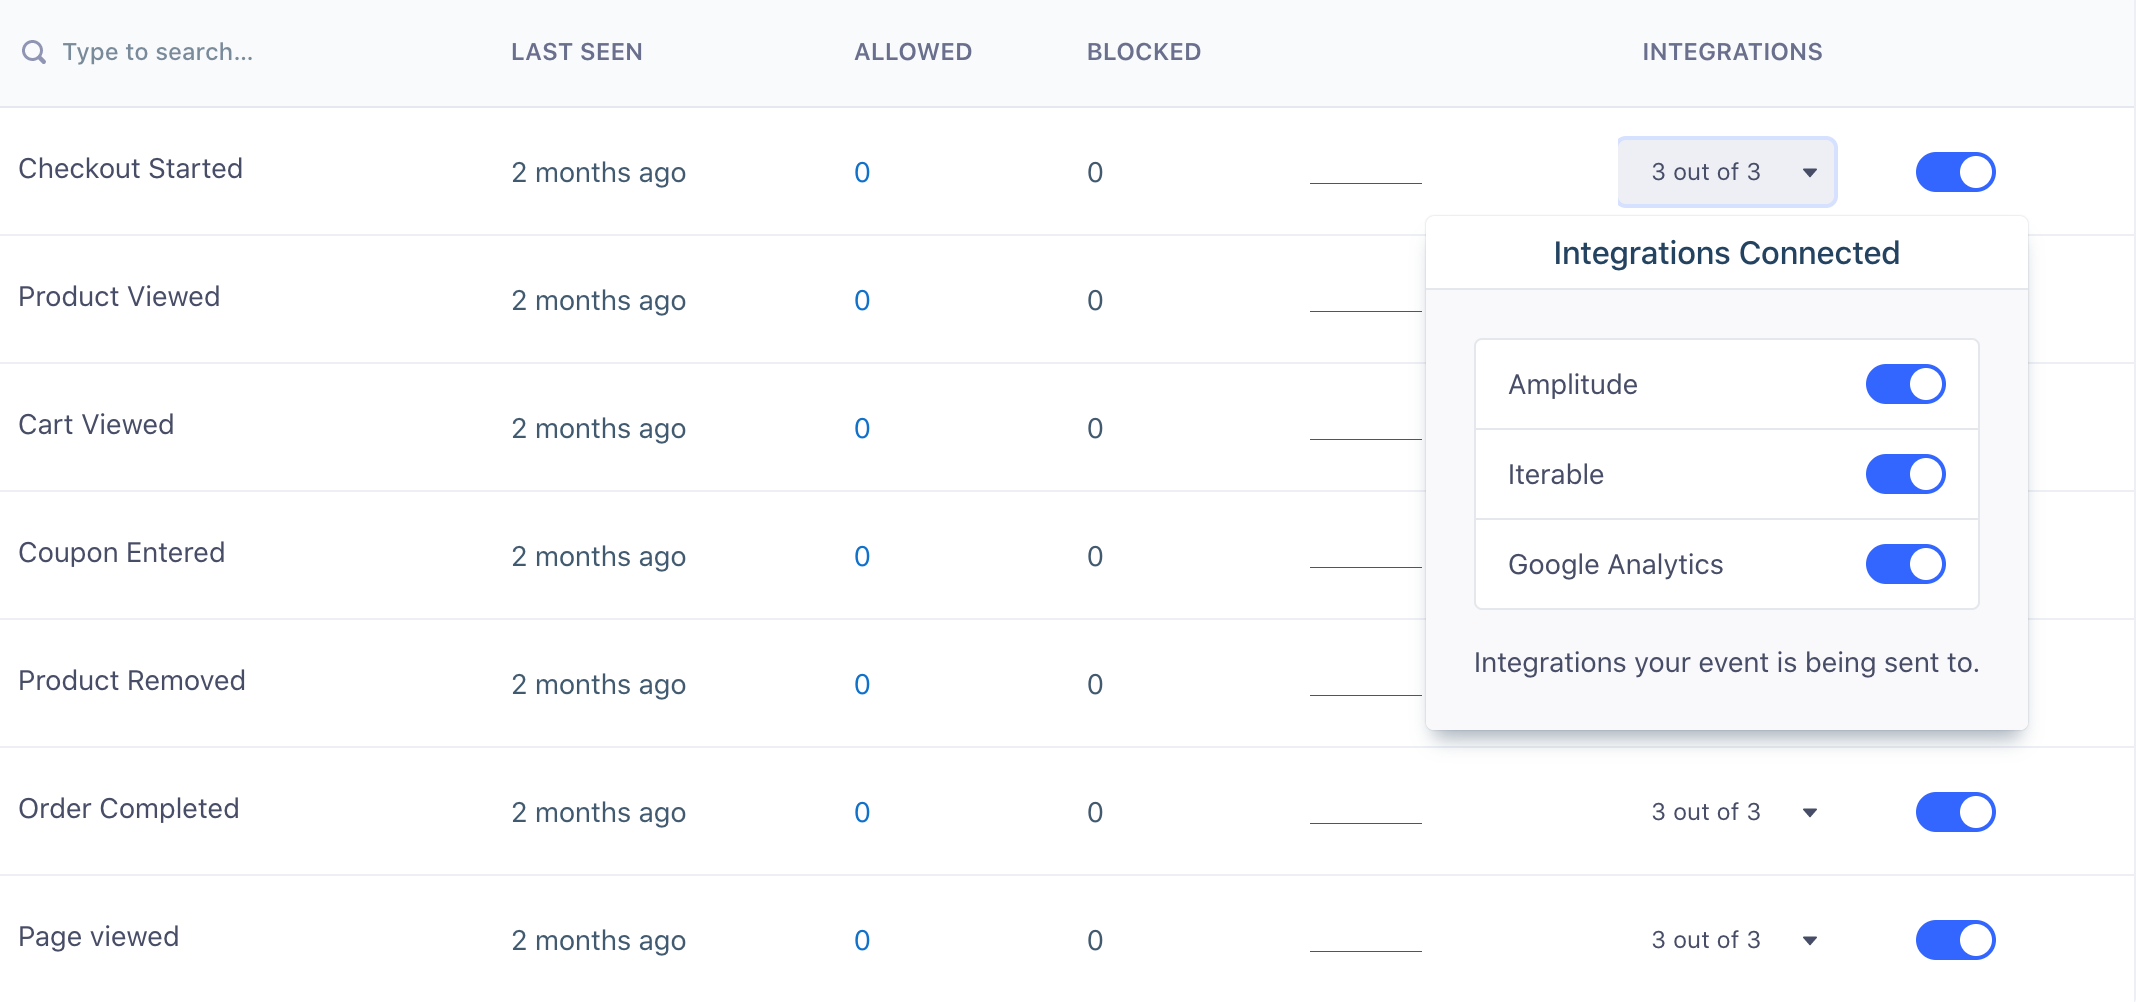
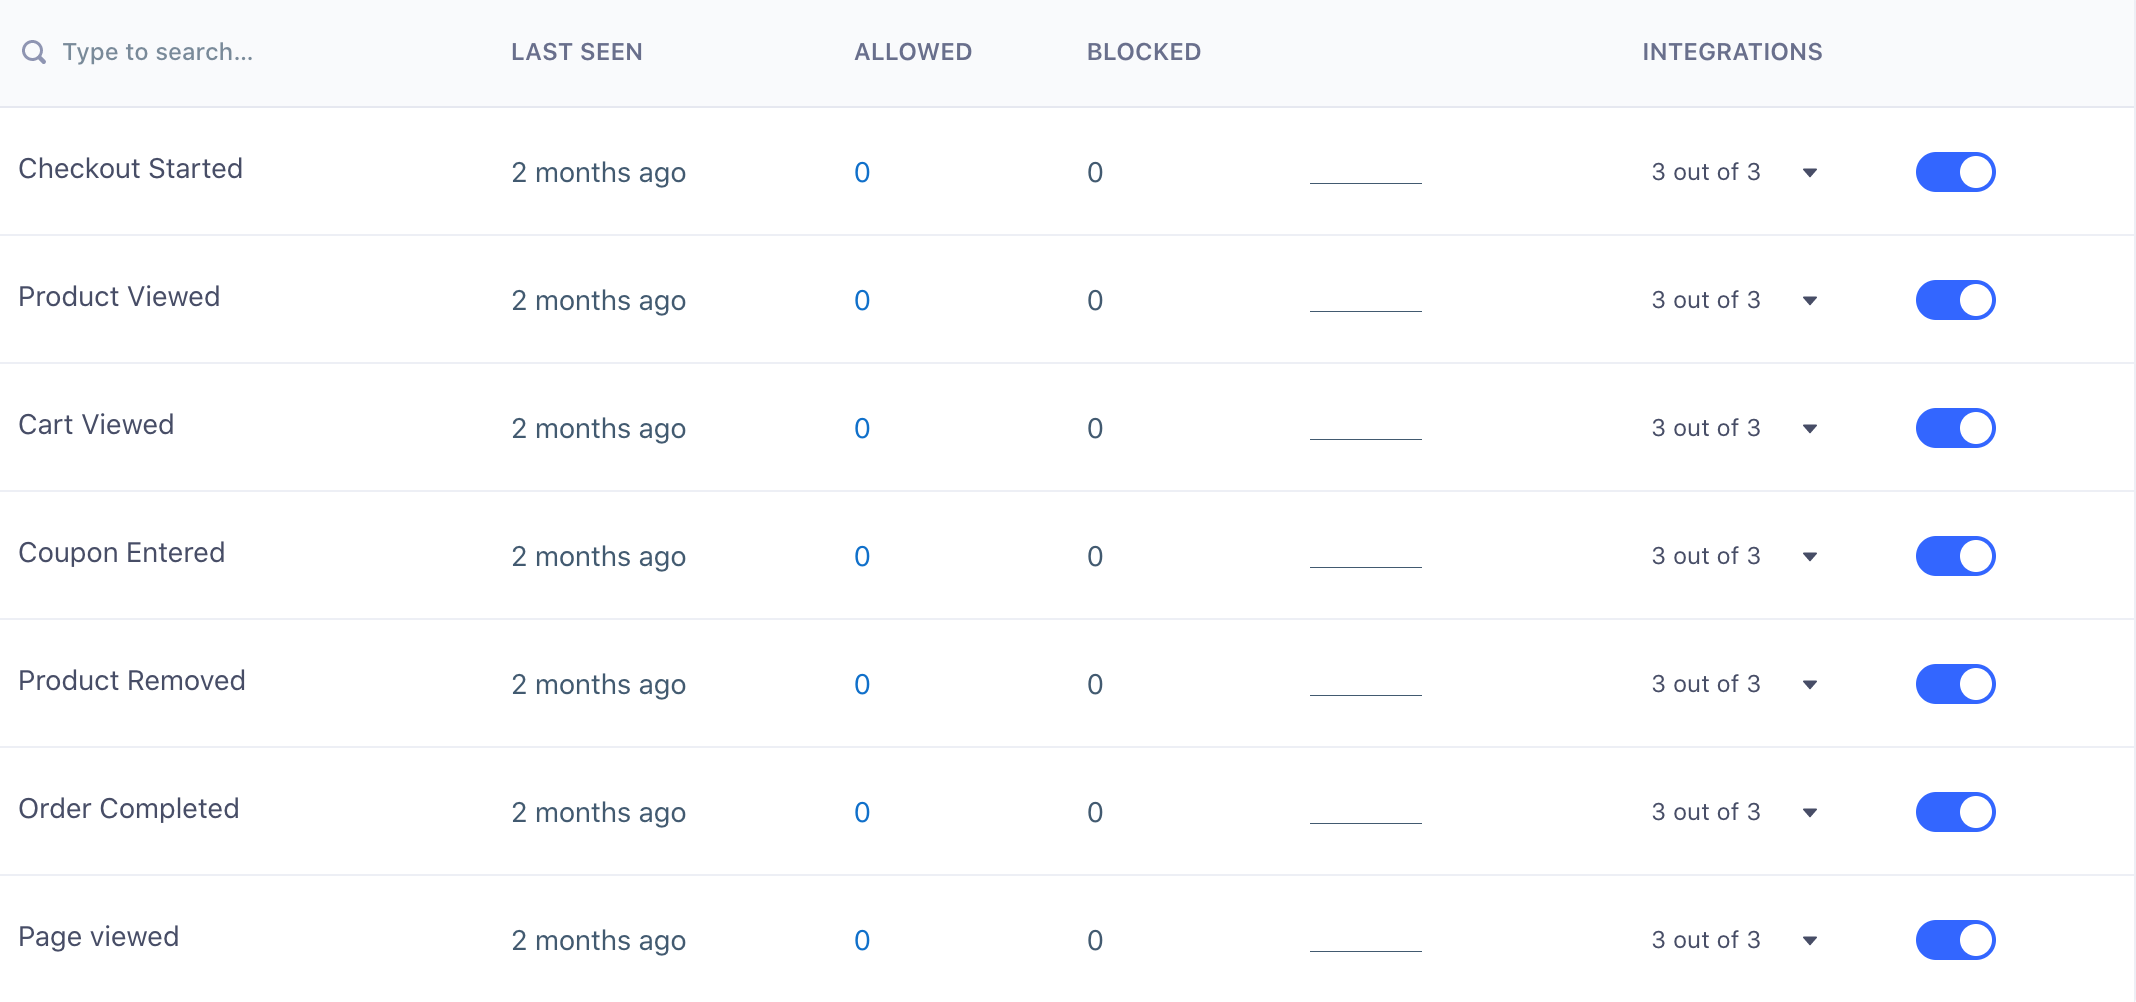
If you’re on Segment’s Business plan, you can filter track calls right from the Segment UI on your Source Schema page by clicking on the field in the Integrations column and then adjusting the toggle for each tool. Segment recommends using the UI if possible since it’s a much simpler way of managing your filters and can be updated with no code changes on your side.

Block or disable specific events and properties from being sent to all destinations
If you no longer want to track an event, you can either remove it from your code or, if you’re on the Business plan, you can block track calls right from the Segment UI on your Source Schema page by adjusting the toggle for each event.

Once you block an event in Segment, Segment stops forwarding it to all of your destinations, including your warehouses. You can remove it from your code at your leisure. In addition to blocking track calls, Business plan customers can block all Page and Screen calls, as well as Identify traits and Group properties.
Add a new event using the New Event button
The New Event button in your source schema adds the event to the source schema only. It does not add any events to your tracking code. If you want to track an event, you still need to manually add it to your source code.
A use case for this feature might be to enable schema filtering for a new event before it arrives in the source to prevent it from reaching specific downstream destinations.
Export your Source Schema
Segment allows users with Source Read-only permissions to download Source Schemas as a CSV file, maximizing portability and access to event data. You can download a copy of your schema by visiting the Source Schema page.
You can export Track, Identify, and Group Source Schemas.
Download a CSV
You can only download one Source Schema CSV schema type (Track, Identify, or Group) per source at the same time.
To download a Source Schema CSV file:
- Sign in to Segment and select a source.
- Click the Schema tab in the source header.
- On the Source Schema page, select a schema type (Track, Identify, or Group) and a timeframe (7 days or 30 days).
- Click the Download CSV button.
A toast pops up on the top of the page, with the message “Your file is processing. When your file is ready it will be available to download from the Download History page.” - Open the Download History page by clicking the link in the toast or following the instructions in the view download history section.
- Once the file status column indicates that the download was successful, click the Download CSV link to download your CSV to your computer. If the file status column shows that the download has failed, return to the Source Schema page and try the download again.
The Source Schema CSV name has the following format:workspaceSlug-sourceSlug-schemaType--yyyy-mm-dd--hh-mm-utc
All events and properties are now included in the CSV file
When you export a Source Schema, all events and properties are included in the CSV file regardless of the filters or search parameters currently applied to the Source Schema view.
View download history
You can view the Source Schema exports from the last 14 days on the Download History page.
To access the Download History page:
- Sign in to Segment and select a source.
- Click the Schema tab in the source header.
- Click the View Download History link.
Track event CSV format
The Track event CSV file contains the following columns:
- Event Name
- Last Seen At (UTC)
- If greater than your selected timeframe (7 days or 30 days) the value is “more than 7 days ago” or “more than 30 days ago”
- Property Name
- Allowed
- Blocked
- Total
- Planned (available for Protocols customers with a connected Tracking Plan)
- Values are “planned” or “unplanned”
Labels in your exported CSV
If you use labels, they appear as columns in your CSV. The column headers are keys, and the column data contains values.
Identity and Group event CSV format
The Identify and Group CSV files contain the following columns:
- Trait Name
- Last Seen At (UTC)
- If greater than your selected timeframe (7 days or 30 days) the value is “more than 7 days ago” or “more than 30 days ago”
- Allowed
- Blocked
- Total
- Planned (available for Protocols customers with a connected Tracking Plan)
- Values are “planned” or “unplanned”
The exported schema doesn’t include actual values (for example, personal data) for the events, properties, and traits you are tracking for a specific source.
See the Segment Schema Limits for more information on how to manage the Source Schema.
This page was last modified: 22 Jun 2023
Need support?
Questions? Problems? Need more info? Contact Segment Support for assistance!